Tutorial: interactive AR with timeline sequences
Artivive
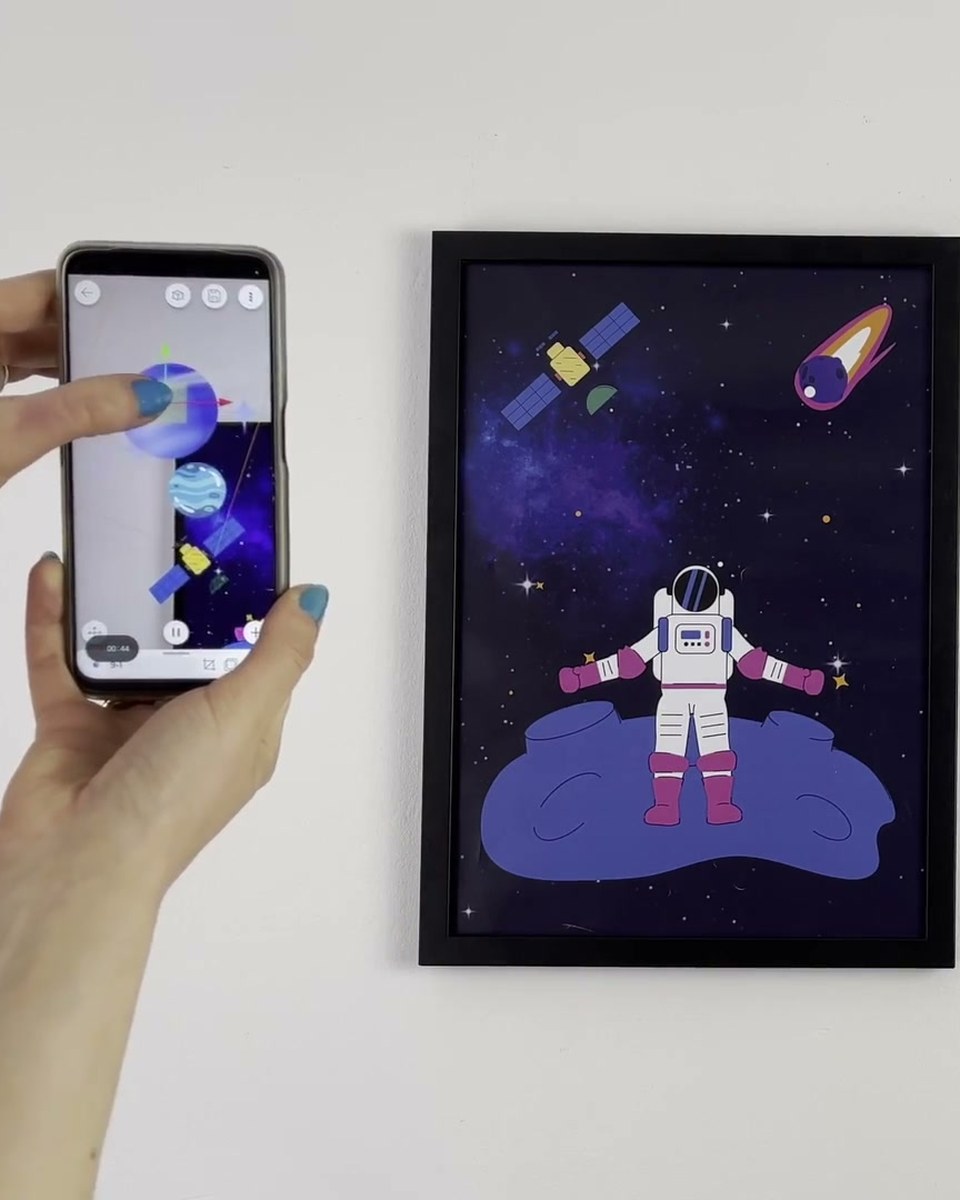
Timeline sequences chain animations into stages: tap, or wait, and the artwork moves to its next scene. This tutorial builds an interactive AR experience step by step in the Artivive editor, from the first layer to a sequence the viewer clicks through.
Create this yourself
Everything in this video is made in the Artivive editor. Upload your image, add the video or 3D layer, publish. Free to start.
Credits
Produced by Artivive.
How a case like this gets made
- Pick what people will point their phone at: a painting, poster, pack, page or wall.
- Add the digital layer in the Artivive editor. Video, image, 3D model, sound. No code.
- Publish. Visitors open it in the free app or through a WebAR link, and enterprise campaigns run fully white label, under your own brand.
← Previous in Platform & WebARTutorial: how to create animated AR art
Next in Platform & WebAR →Tutorial: the costume effect layer